Screen Recording is a useful tool for any time you need to capture something on your iPhone, either to share with others or to review later. Luckily, iOS has a simple tool for screen recording built right in, and we'll show you how to use it to make sure you're capturing the images and sounds you want, and nothing else.
Screen recording has been around since iOS 11, so any modern iPhone can use the built-in Screen Recording feature. However, if you're having trouble getting the screen recording to capture audio, we'll show you how to easily get internal sounds from the app you're recording or external sounds from your microphone like your own voice. For more help with capturing things on your phone, check out our guide on taking screenshots, and be sure to sign up for our free Tip of the Day newsletter for other easy-to-follow guides on your iPhone's features.

Get a daily tip (with screenshots and clear instructions) so you can master your iPhone in just one minute a day.
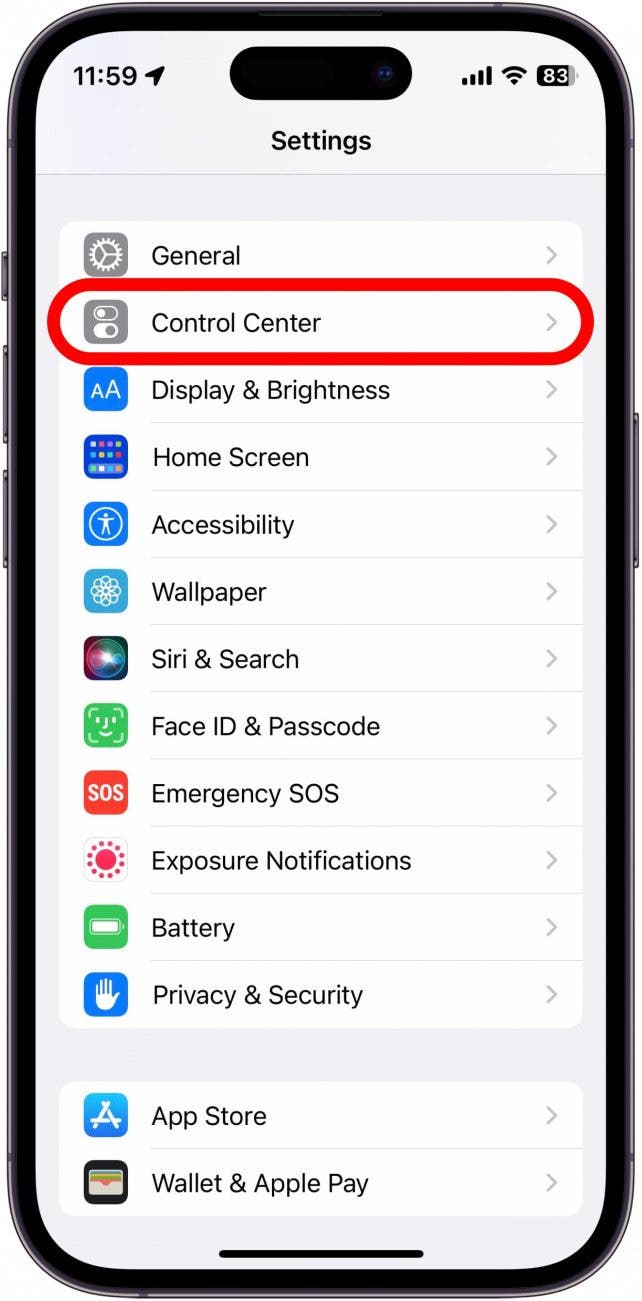
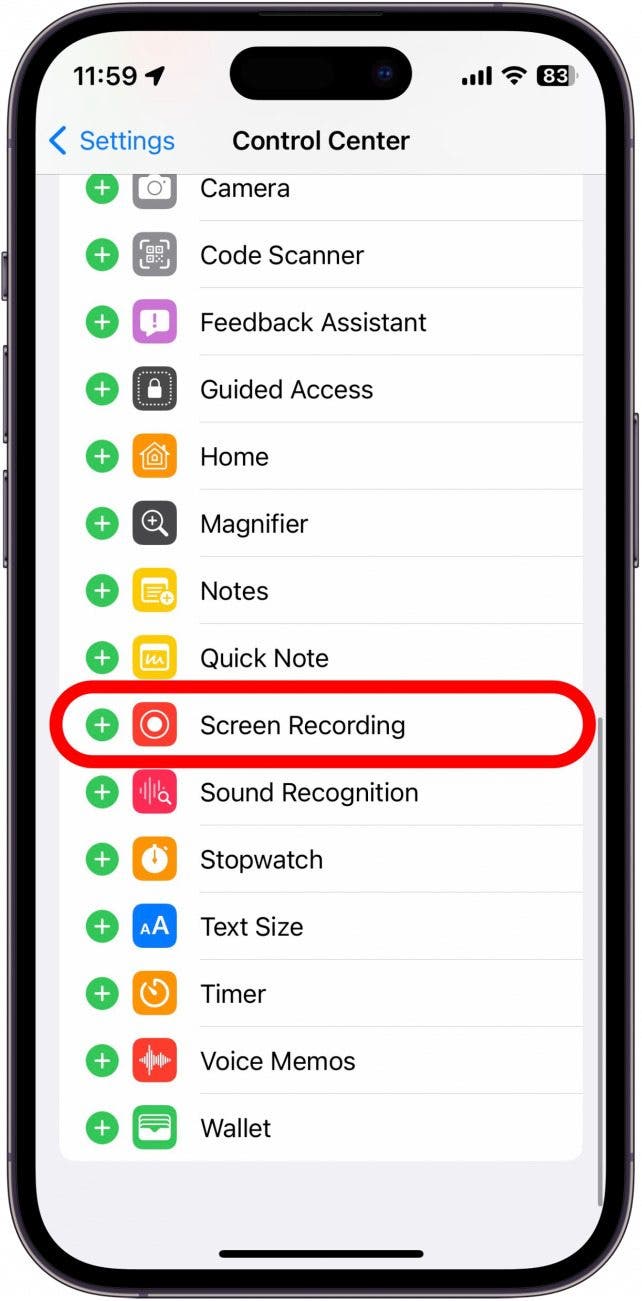
The first step to getting started with screen recording is to make sure the tool has been added to your Control Center. To record your iPhone screen, you need to add Screen Recording to the Control Center. To add Screen Recording to the Control Center:
Now you can record your screen; however, by default, your iPhone will record the screen without any external sounds. If you want your iPhone to also record sound during the screen capture, use the how-to below to capture both your iPhone’s screen and audio.
Does screen recording record audio? Yes, if you have your ringer and/or microphone on. In this section, we’ll summarize how to record (or not) your voice along with your iPhone’s native sounds. This is a very important part of recording your screen with sound, because we need to clarify what you mean by sound.
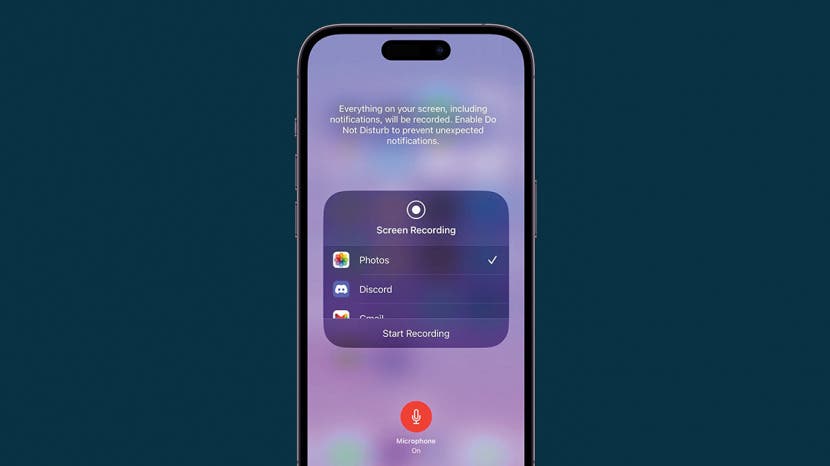
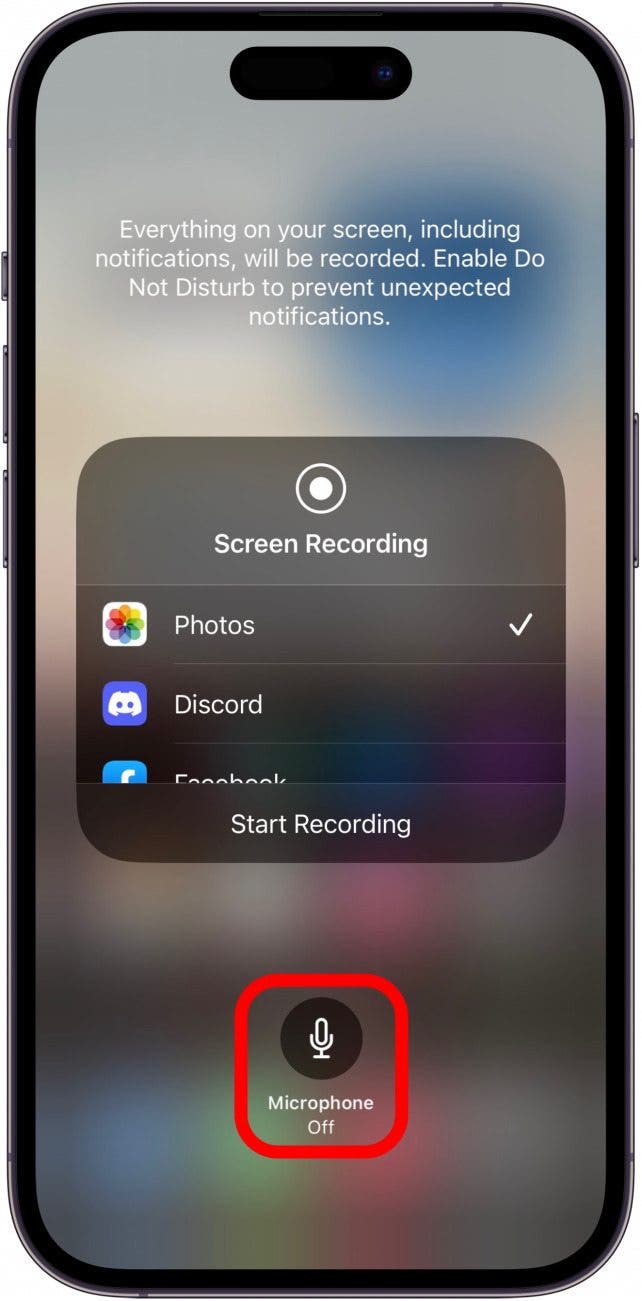
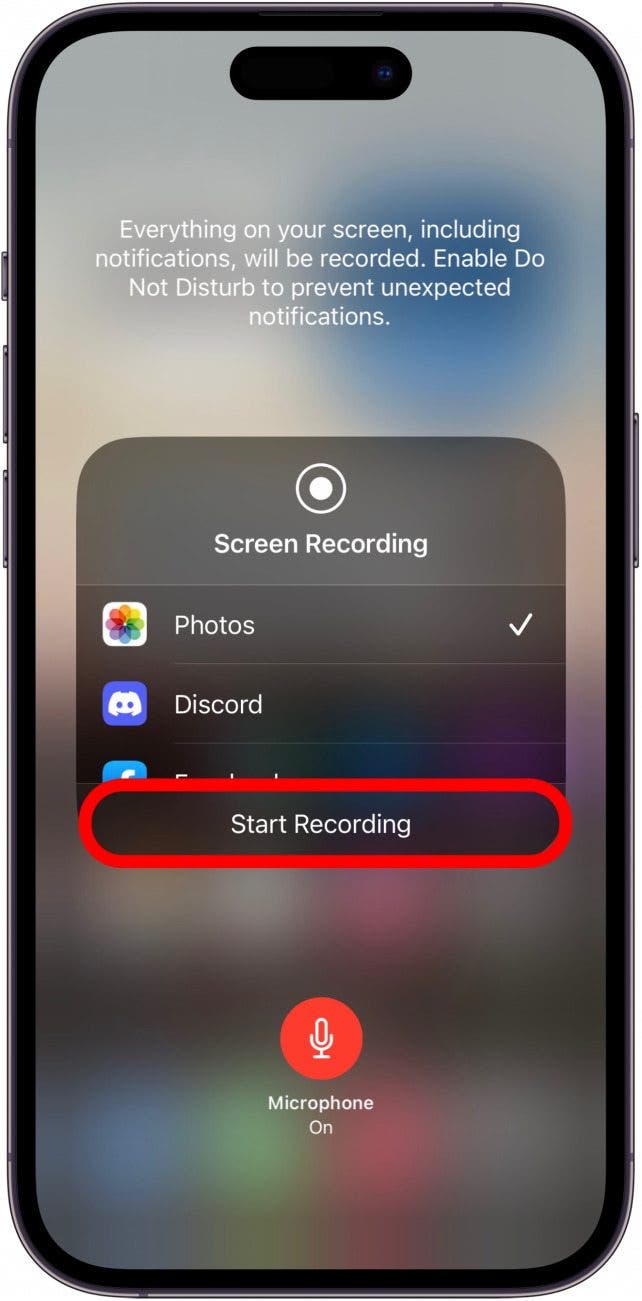
Now let’s get into the nitty-gritty. To record ambient sound, like your own voice, you'll first need to make sure whatever app you are trying to record has permission to use your microphone. Then, to record your iPhone screen with audio:


Note: Some media apps, like Apple Music, will not allow you to screen record while listening to music or watching videos, either by muting the audio or displaying a still image in the recording.
At this point, the video will be saved. If you selected Photos at the beginning of the process, you can find the new video in your Photos app, just like a new video recorded from the iPhone camera. Next, find out the different methods to screen share between your Mac, iPad and iPhone .
Master your iPhone in one minute a day: Sign up here to get our FREE Tip of the Day delivered right to your inbox.